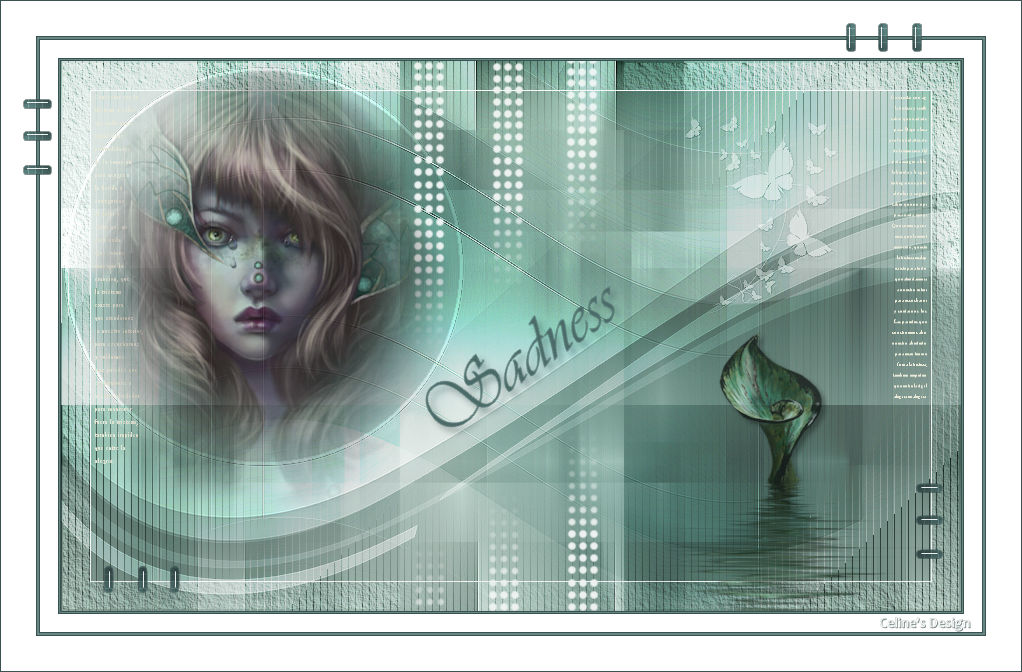
The tutorial:
******
01
Open a new Transparent image - 900 X
550px
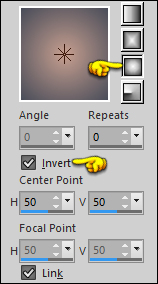
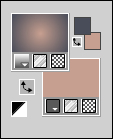
Fill the image with the Gradient

02
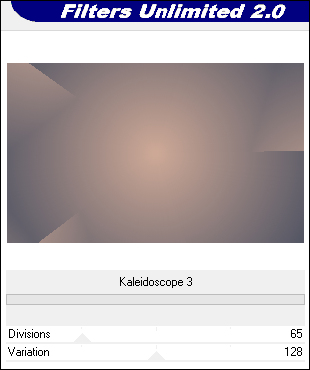
Effects - Plugins - Filters Unlimited
- Tile and Mirror - Kaleidoscope 3 - Default settings
03
Layers - Duplicate
Image - Mirror - Mirror Horizontal
Lower the Opacity of this Layer to
50
Layers - Merge - Merge Down
04
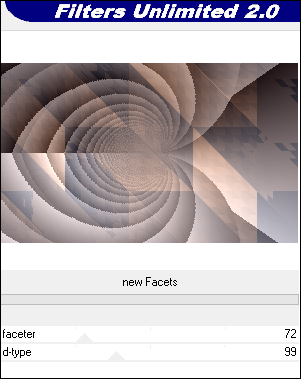
Effects - Plugins - Filters Unlimited - Kang 1 - New
Facets - Default settings
05
Effects - Plugins - Mehdi 2 - Flat
Median
Effects - Edge Effects - Enhance
Layers - Duplicate
06
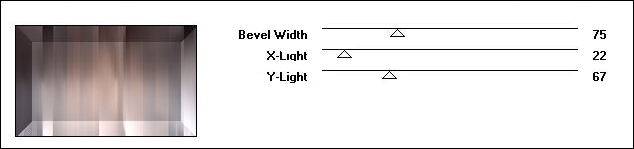
Effects - Plugins - Filter Factory -
Gallery G - Bevel 1.5 - Default settings
07
Image - Resize - 75% - Resize All
Layers - Not Checked
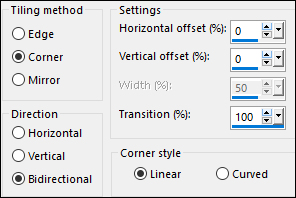
Effects - Image Effects - Seamless
Tiling
08
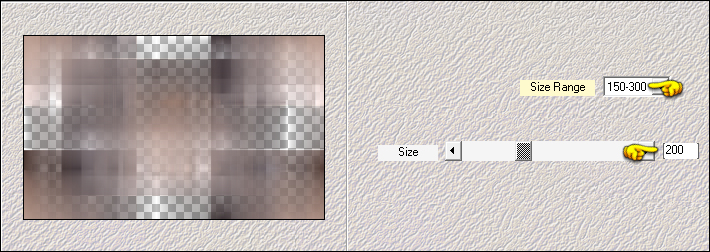
Effects - Plugins - Mehdi - Weaver
09
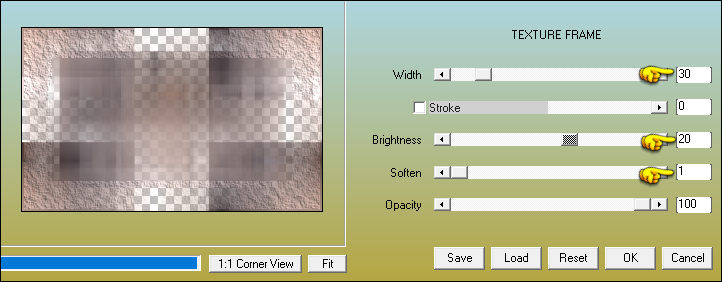
Effects - Plugins - AAA Frames -
Texture Frame
10
Layers - New Raster Layer
Selections - Select All
Selections - Modify - Contract - 29px
Fill the Seletion with (3) #f8f6e7

Selections - Modify - Contract - 1px
Press the Delete key on your keyboard
Selections - Select None
Layers - Merge - Merge Down
11
Activate the Bottom Layer
Layers - Duplicate
Layers - Arrange - Bring to Top
12
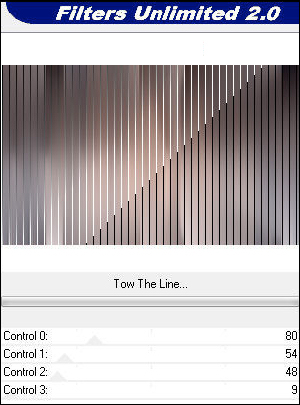
Effects - Plugins - Tramages - Tow the
Line - Default settings
13
Layers - Load/Save - Load Mask From
Disk - "2020"
Layers Duplicate (twice)
Layers - Merge - Merge group
Change the Blend Mode of this Layer to
Soft Light
14
Layers - New Raster Layer
Selections - Select All
Selections - Modify - Contract - 150px
Fill the Selection with (1) - #7f8295

Selections - Select None
15
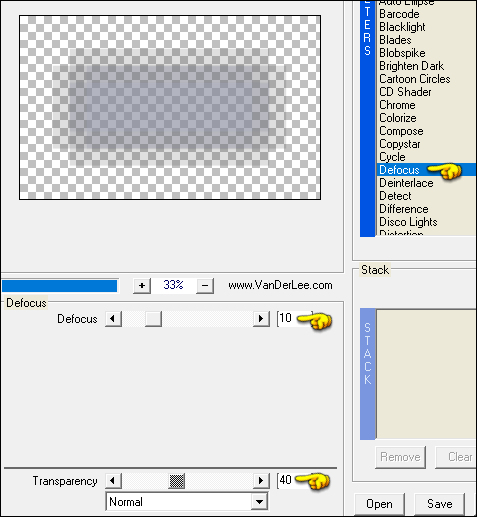
Effects - Plugins - VanDerLee -
Unplugged X - Defocus
Effects - Edge Effects - Enhance
16
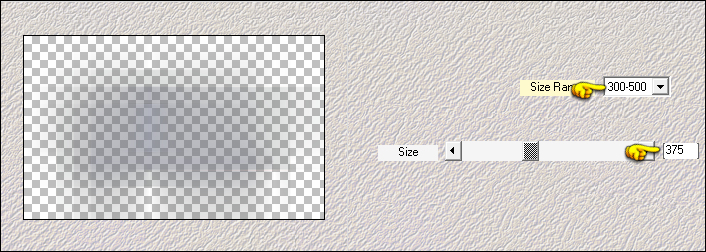
Effects - Plugins - Mehdi - Weaver
17
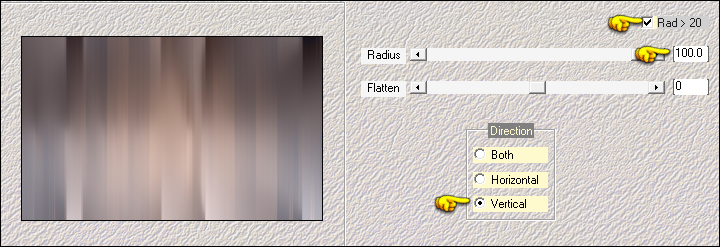
Effects - Distortion Effects - Wave

Effects - Edge Effects - Enhance
Effects - 3D Effects - Drop Shadow:
0/0/80/20 Color: (2)
#515463

Change the Blend Mode to
Overlay
18
Layers - New Raster Layer
Fill the Layer with (3) #f8f6e7
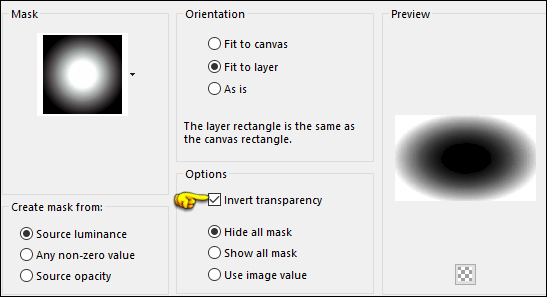
Layers - New Mask Layer - From Image -
"TD_Mask_Sadness"
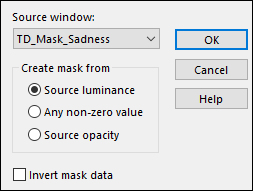
Layers - Merge - Merge Group
Adjust - Sharpness - Sharpen
Change the Blend Mode of this Layer to
Overlay
19
Open "TD_Flowers_Sadness" from
tray
Edit - Copy the Middle Layer
On your work image: Edit - Paste
- Paste As New Layer
Pick Tool (K)

Enter these parameters for the X: and
Y: positions on the Toolbar
X: 607.00 Y:
269.00
Press M to close the
Pick Tool
Effects - 3D Effects - Drop Shadow: 5/5/50/10
Color: (5) #000000

20
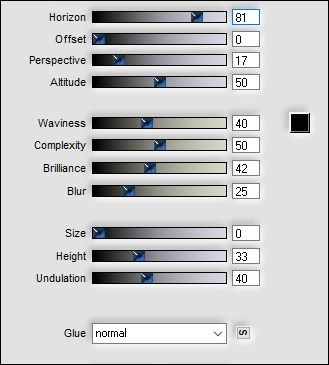
Effects - Plugins - Flaming Pear -
Flood
21
Layers - New Raster Layer
Fill the Layer with (3) #f8f6e7
Layers - New Mask Layer - From Image -
"TD_Mask2_Sadness
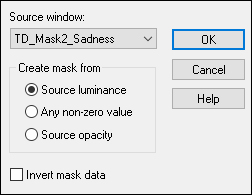
Layers - Merge - Merge Group
Change the Blend Mode to
Luminance(Legacy)
22
Open "TD_Texto_Sadness" from
tray
Edit - Copy the Middle Layer
Pick Tool (K)
Enter these parameters for the X: and
Y: positions on the Toolbar
X: 33.00 Y: 33.00
Press M to close the
Pick Tool
23
Open "TG_Woman_Face_Sadness"
from tray
Edit - Copy the Middle Layer
On your work image: Edit - Paste
- Paste As New Layer
Pick Tool (K)
Enter these parameters for the X: and
Y: positions on the Toolbar
X: -2.00 Y: -46.00
Press M to close the
Pick Tool
Lower the Opacity of this Layer to
70
24
Open "TD_Deco1_Sadness" from
tray
Edit - Copy the Middle Layer
On your work image: Edit - Paste
- Paste As New Layer
Pick Tool (K)
Enter these parameters for the X: and
Y: positions on the Toolbar
X: 23.00 Y: 416.00
Press M to close the
Pick Tool
25
Open "TD_Deco2_Sadness" from
tray
Edit - Copy the Middle Layer
On your work image: Edit - Paste
- Paste As New Layer
Pick Tool (K)
Enter these parameters for the X: and
Y: positions on the Toolbar
X: 622.00 Y: 51.00
Press M to close the
Pick Tool
Change the Blend Mode of this Layer to
Soft Light
26
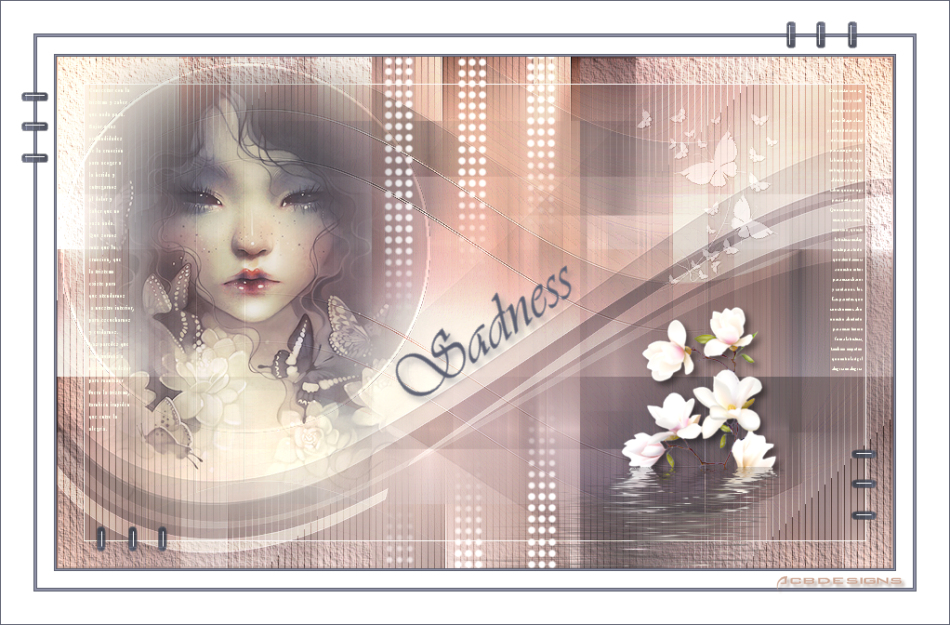
Open "TD-Titulo_Sadness" from
tray
Edit - Copy the Middle Layer
On your work image: Edit - Paste
- Paste As New Layer
Pick Tool (K)
Enter these parameters for the X: and
Y: positions on the Toolbar
X: 364.00 Y:
225.00
Press M to close the
Pick Tool
Effects - 3D Effects - Drop Shadow: 5/5/50/10
Color: (2) #515463
27
Image - Add Borders - Symmetric
checked - 1px - (2) #515463
Image - Add Borders - Symmetric checked - 1px - (1)
#7f8295
Image - Add Borders - Symmetric checked - 1px - (2)
#515463
Image - Add Borders - Symmetric checked - 18px - (6)
#ffffff

Image - Add Borders - Symmetric checked - 1px - (2)
#515463
Image - Add Borders - Symmetric checked - 2px - (1)
#7f8295
Image - Add Borders - Symmetric checked - 1px - (2)
#515463
Image - Add Borders - Symmetric checked - 35px - (6)
#ffffff
28
Open "TD_Deco03_Sadness" from tray
Edit - Copy
On your work Image: Edit - Paste
- Paste As New Layer
Pick Tool (K)
Enter these parameters for the X: and
Y: positions on the Toolbar
X: 22.00 Y: 22.00
Press M to close the
Pick Tool
Image - Add Borders - Symmetric checked - 1px - (2)
#515463
29