The tutorial:
******
01
Open a new Transparent image 900 X
550px
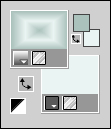
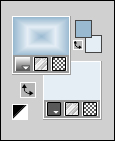
Fill the image with the Foreground
Gradient 
02
Effects - Plugins - Mehdi -
Kaleidoscope 2.1
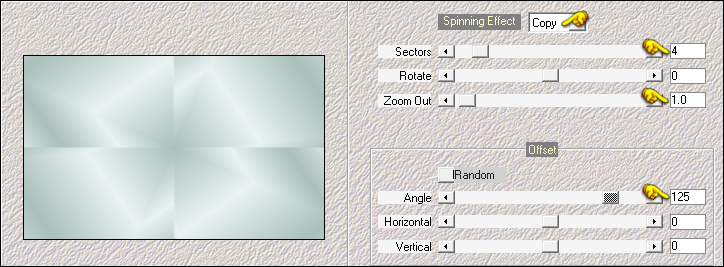
03
Effects - Plugins - Filters Unlimited
- &<Bkg Designer sf10 II> -
MURUS
Wave
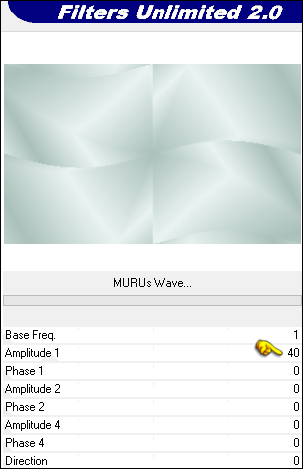
Adjust - Sharpness - Sharpen More
04
Repeat &<Bkg Designer sf10 II> -
MURUS
Wave with the same settings
05
Effects - Image Effects - Seamless
Tiling
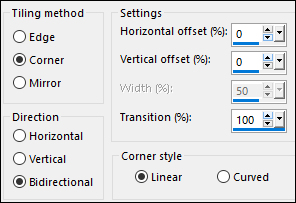
Adjust - Sharpness - Sharpen More
06
Layers - Duplicate
Effects - Plugins - Filters Unlimited
- Alf's Power Sines - Absolute 2 Sin Grads
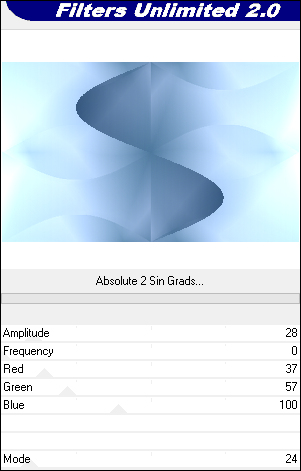
Note: If you are
using different Colors, adjust the R, G, B sliders to
match your work
07
Edit - Copy
Layers - New Raster Layer
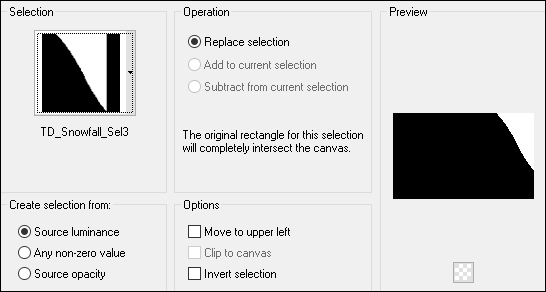
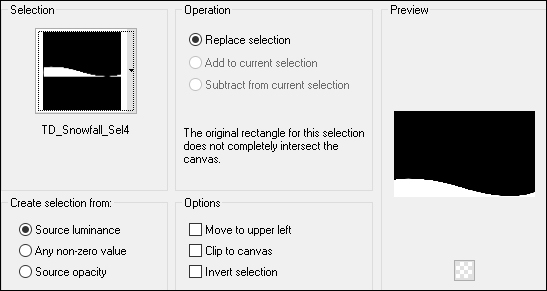
Selections - Load/Save - Load
Selection From Disk - "TD_Snowfall_Sel1"

Edit - Paste - Paste - Paste Into
Selection
Click on the Layer below (Copy of
Raster 1)
Press the Delete key on your keyboard
Selections - Select None
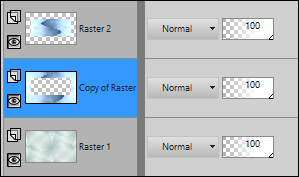
Your work and layer Palette should
look like this now:
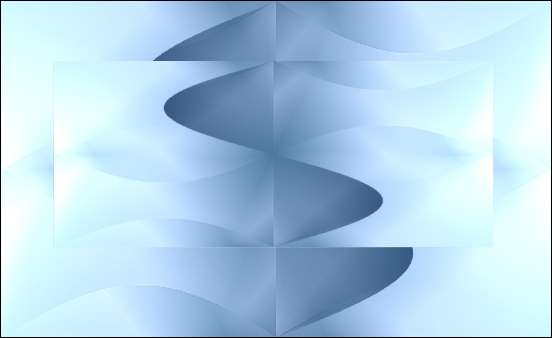
08
Effects - Distortion Effects - Wave

Image - Mirror - Mirror Horizontal
Change the Blend Mode to Hard
Light and lower the Opacity to 60
09
Click on the Top Layer
Layers - New Raster Layer
Change the Foreground Color to #98b9d0

Change the Background Color to
#e5eef4 
Change the Foreground to Gradient
(same settings as in step#1)
Fill the Layer with the Foreground
Gradient 
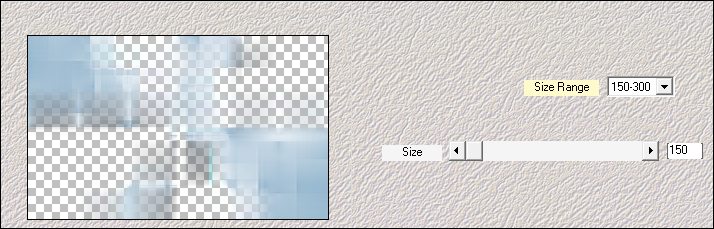
10
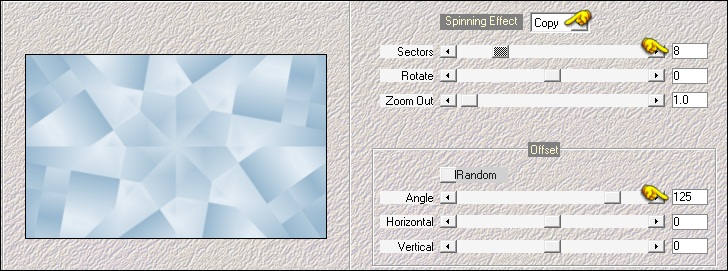
Effects - Plugins - Mehdi - Sorting
Tiles

11
Effects - Plugins - Mehdi -
Kaleidoscope 2.1
12
Effects - Plugins - Filters Unlimited
- &<Bkg Designer sf10 II - MURUS Wave - Default settings
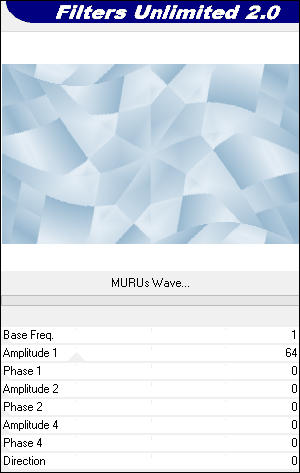
Adjust - Sharpness - Sharpen More
13
Effects - Plugins - Filters Unlimited - Neology -
Transparent Pizza
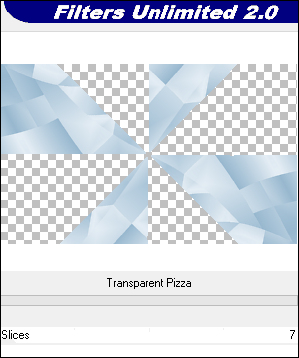
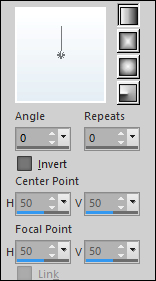
Effects - Distortion Effects - Pinch -
Strength: 100
14
Effects - Plugins - Mehdi - Weaver
15
Effects - Plugins - Filters Unlimited - Mirro Rave -
Quadrant Flip - Default settings
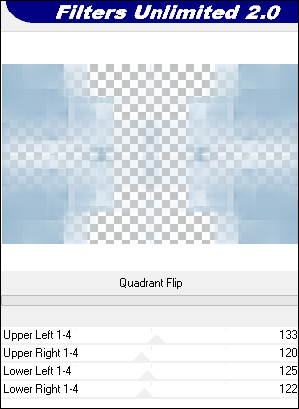
Change the Blend Mode to
Multiply
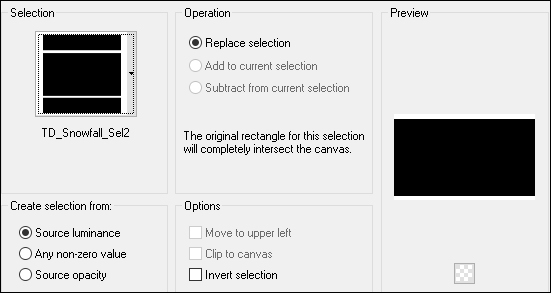
16
Click on the second Layer from the
Bottom (Copy of Raster 1)
Selections - Load/Save - Load Selection From Disk -
"TD_Snowfall_Sel2"
Selections - Promote Selection to
Layer
Selections - Select None
Layers - Arrange - Bring to Top
17
Effects - Plugins - [AFS IMPORT] -
sqborder2

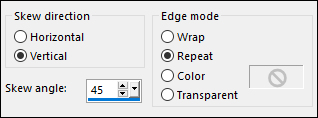
18
Effects - Geometric Effects - Skew
Effects - Geometric Effects - Cylinder
Horizontal - Strength: 60
Adjust - Sharpness - Sharpen
Change the Blend Mode to
Multiply
19
Layers - New Raster Layer
Selections - Load/Save - Load Selection From Disk -
"TD_Snowfall_Sel3"
Fill the Selection with #98b9d0
Selections - Select None
20
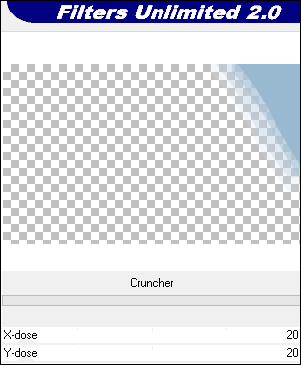
Effects - Plugins - Filters Unlimited
- &<Bkg Designer sf10 I > - Cruncher - Default settings
21
Effects - Texture Effects - Blinds
Change the Blend Mode to Hard
Light
Layers - Arrange - Move Down
22
Layers - Duplicate
Image - Mirror - Mirror Horizontal
Effects - Distortion Effects - Punch -
Strength: 50
23
Click on the Top Layer
Open "TD_Misted_Snowfall" from tray
Edit - Copy the Middle Layer
On your work image: Edit - Paste -
Paste As New Layer
Pick Tool (K)
Enter these parameters for the X: and
Y: positions on the Toolbar
X: 74.00 Y: 47.00
Pres M to close the
Pick Tool
24
Layers - New Raster Layer
Fill the Layer with # 98b9d0
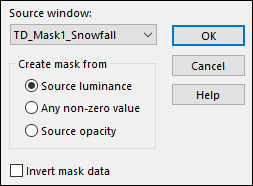
Layers - New Mask Layer - From Image -
"TD_Mask1_Snowfall"
Layers - Merge - Merge Group
Change the Blend Mode to
Multiply
Effects - 3D Effects - Drop Shadow:
0/0/60/20 Color: #548cb1

Adjust - Sharpness - Sharpen More
25
Layers - New Raster Layer
Fill the Layer with #c4e6df

Layers - New Mask Layer - From Image
"Narah_mask_Abstract271"
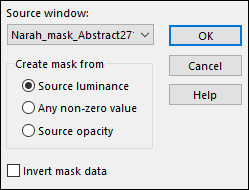
Layers - Merge - Merge Group
26
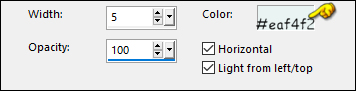
Layers - New Raster Layer
Fill the Layer with #eaf4f2

Layers - New Mask Layer - From Image -
"TD_Mask2_Snowfall"
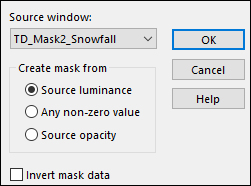
Layers - Merge - Merge Group
Effects - 3D Effects - Drop Shadow: 0/0/60/20
Color: #548cb1
27
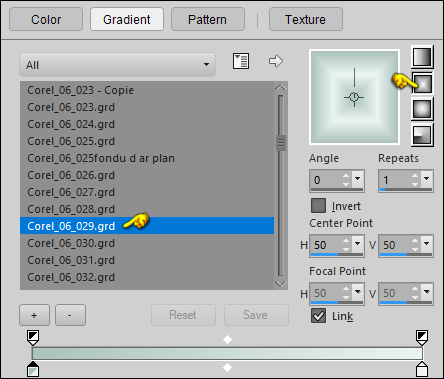
Change the Foreground Color to #e5eef4
Change the Background Color to #ffffff

Change
the Foreground to Gradient (Corel_06_029) - Style:
Linear
28
Layers - New Raster Layer
Selections - Load/Save - Load Selection From Disk -
"TD_Snowfall_Sel4"
Fill the Selection with the Foreground
Gradient 
Selections Invert
Effects - 3D Effects - Drop Shadow: 5/0/60/20
Color: #548cb1
29
Open "TD_Tube_Snowman" from tray
Edit - Copy the Middle Layer
On your work image: Edit - Paste -
Paste As New Layer
Pick Tool (K)
Enter these parameters for the X: and
Y: positions on the Toolbar
X: 590.00 Y: 66.00
Pres M to close the
Pick Tool
30
Layers - Duplicate
Adjust - Blur - Gaussian Blur -
Radius: 10
Layers - Arrange - Move Down
Change the Blend Mode to
Multiply
31
Click on the Top Layer (Original tube
layer)
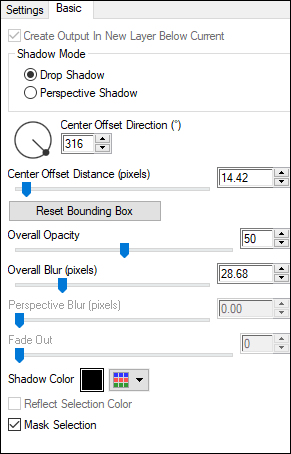
Effects - Plugins - Eye Candy 5 -
Impact - Perspective Shadow - Preset -
"TD_Shadow_Snowfall"
Note: If the Preset isn't working for
you, use these settings in the Basic Tab:
32
Open "TD_Wordart_Snowfall" from tray
Edit - Copy the Middle Layer
On your work image: Edit - Paste -
Paste As New Layer
Pick Tool (K)
Enter these parameters for the X: and
Y: positions on the Toolbar
X: 37.00 Y: 277.00
Pres M to close the
Pick Tool
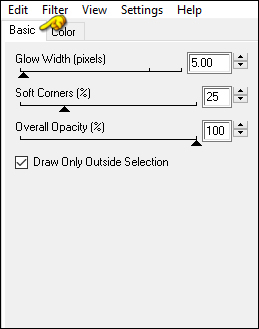
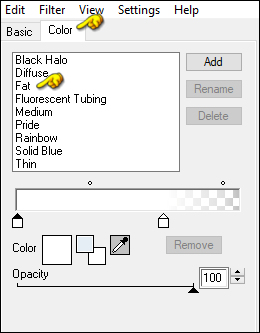
33
Effects - Plugins - Eye Candy 400 -
Gradient Glow
34
Click on Raster Layer 6
Layers - New Raster layer
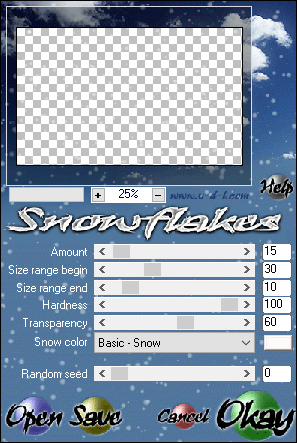
Effects - Plugins - VD Adrenaline -
Snowflakes
35
Image - Add Borders - Symmetric
checked - 1px - #2e6082

Image - Add Borders - Symmetric checked - 5px - #e5eef4
Image - Add Borders - Symmetric checked - 1px - #2e6082
Image - Add Borders - Symmetric checked - 10px - #98b9d0
Image - Add Borders - Symmetric checked - 1px - #2e6082
Image - Add Borders - Symmetric checked - 25px - #ffffff
Image - Add Borders - Symmetric checked - 1px - #2e608
Image - Add Borders - Symmetric checked - 3px - #ffffff
Image - Add Borders - Symmetric checked - 1px - #2e6082
Image - Add Borders - Symmetric checked - 40px - #ffffff
36
Open "TD_Deco_Snowfall" from
tray
Edit - Copy the Middle Layer
On your work image: Edit - Paste -
Paste As New Layer
Image - Add Borders - Symmetric checked - 1px - #2e6082
37