Selections -
Promote Selection to Layer
Selections - Select None
Effects - Image Effects - Seamless
Tiling - Default Settings
Effects - Distortion Effects - Wave
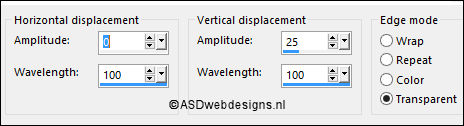
Layers - Duplicate
Image - Mirror -
Mirror
Horizontal (
Image - Mirror
in previous PSP
Versions)
Image -
Mirror -
Mirror Vertical (
Image - Flip in
previous PSP
Versions)
Layers - Merge -
Merge Down
Layers - Duplicate
Layers - Merge -
Merge Down
Layer Palette -
Double click on this Layer and set the Blend Mode to
"Multiply"
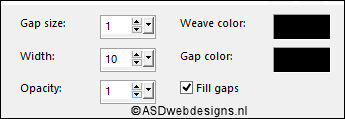
Effects - Texture Effects - Weave -
Weave Color & Gap Color #000000

Maximize Tube
"ASDwebs_TDstudio_Graziella_Deco01" from
tray
Edit - Copy
On your work image: Edit - Paste
As New Layer
No need to move
Layer Palette -
Double click on this Layer and set the Blend Mode to
"Hard Light"
Edit - Copy Special - Copy
Merged
Edit - Paste As
New Image
Image - Resize - 25% - Resize all
Layers checked
Image - Add Borders - Symmetric
checked - 25 px -
Backgroundcolor

Effects - Image Effects - Seamless
Tiling - Default settings
Image - Add Borders - Symmetric
checked - 1 px -
Foregroundcolor

Image - Add Borders - Symmetric
checked - 2 px -
Backgroundcolor
Edit - Copy!
Go back to your Work
Image
Layers - New Raster
Layer
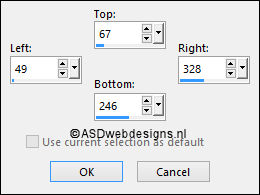
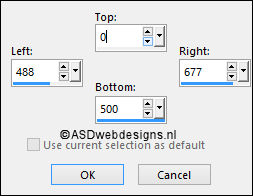
Selection Tool -
Rectangle
 - Custom
Selection:
- Custom
Selection:
Edit - Paste
Into
Selection (Image
from step 6 is
still in your
PSP memory)
Selections -
Select None
Adjust -
Sharpness -
Sharpen
On the Same
Layer:
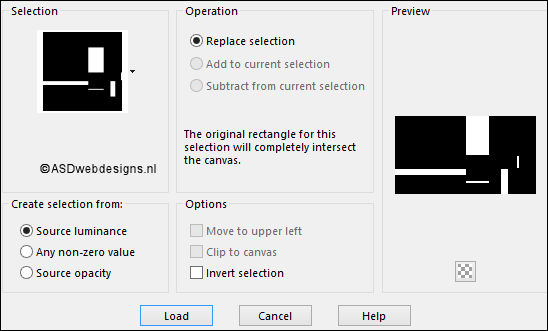
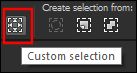
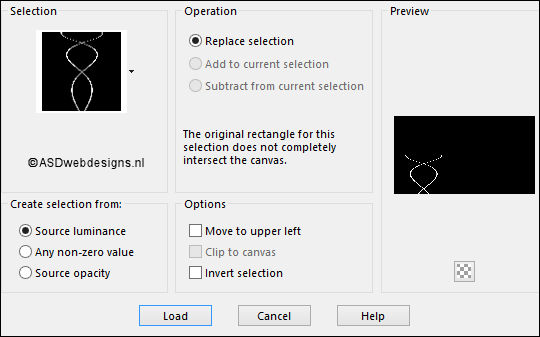
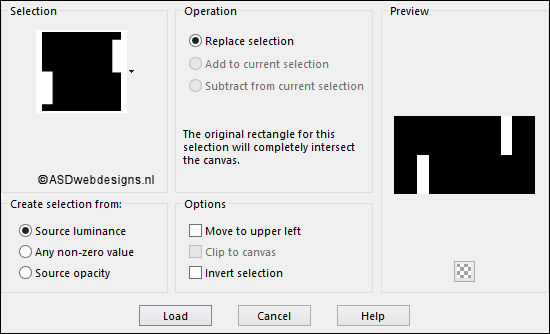
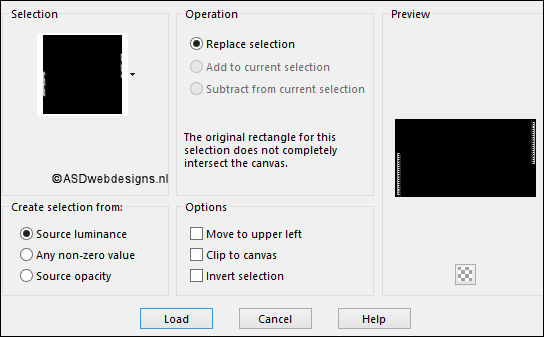
Selections - Load/Save Selection -
Load Selection From Disk -
ASDwebs_TDstudio_Graziella_Sel#02
Fill the
Selection with
the
Backgroundcolor
(Right Mouse
Click)
Selections -
Select None
Effects - 3D Effects - Drop
Shadow - Vertical 1 -
Horizontal 1 - Opacity 50
- Blur - 8 -
Color - #000000
Image - Mirror -
Mirror
Horizontal (
Image - Mirror
in previous PSP
Versions)
Image -
Mirror -
Mirror Vertical (
Image - Flip in
previous PSP
Versions)
Layers - Merge -
Merge Down
Layers - Arrange
- Move Down
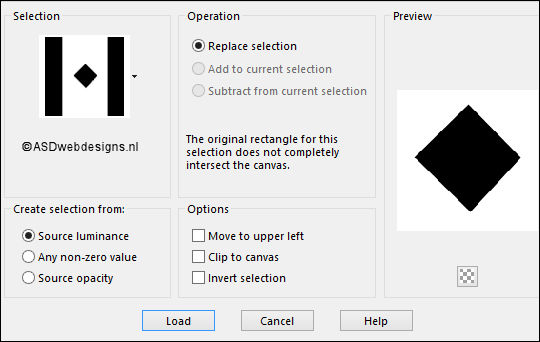
Selections - Load/Save Selection -
Load Selection From Disk -
ASDwebs_TDstudio_Graziella_Sel#03
Edit - Cut (Or hit the Delete Key of
your Keyboard)

Selections -
Select None
Maximize Tube
"ASDwebs_TDstudio_Graziella_Deco02" from
tray
Window - Duplicate
(or shift+D) - Close the original and proceed on the copy
Selections - Load/Save Selection -
Load Selection From Disk -
ASDwebs_TDstudio_Graziella_Sel#04
Maximize Tube
"Yoka-Lady-Blonde-020216" from
tray
Edit - Copy
Minimize to Tray again
On your work image: Edit - Paste
As New Layer
Image - Resize - 50% - Resize
all Layers not checked (
resizing , depending on the size of
your tube)
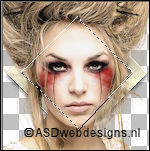
Move into the
Selection like this:
Edit - Cut (Or hit the Delete Key of
your Keyboard)
Selections -
Select None
Layers - Arrange -
Move Down
Layers - Merge - Merge Visible
Edit - Copy
Layer Palette - Click on the Top
Layer
Go back to your work image: Edit - Paste
As New Layer
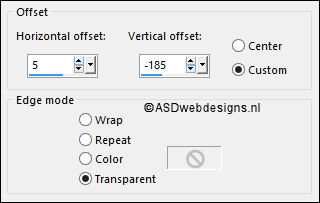
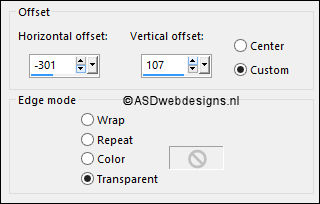
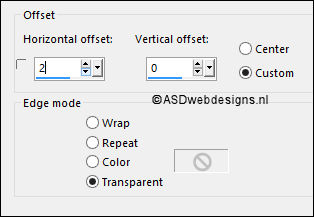
Effects - Image
Effects - Offset
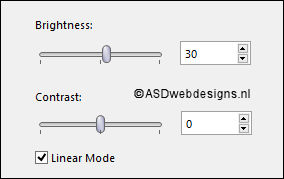
Adjust - Brightness and Contrast -
Brightness/Contrast
Adjust - Hue and Saturation -
Colorize - Hue 13 - Saturation
149 (If you are using different colors
play with the settings to match your
tube)
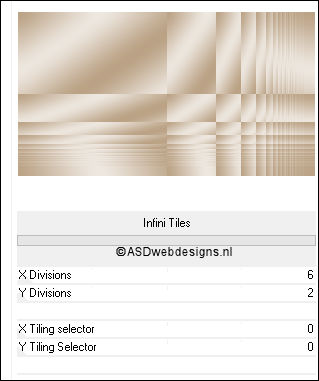
Effects - Plugins -
MuRa's Meister -
Copies
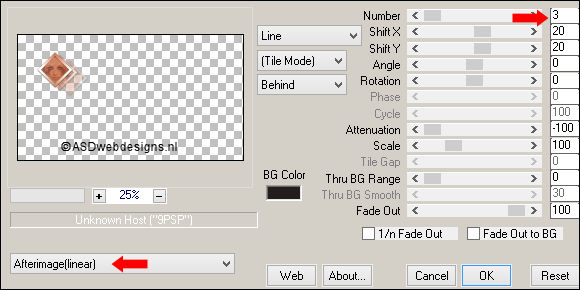
Image - Mirror -
Mirror
Horizontal (
Image - Mirror
in previous PSP
Versions)
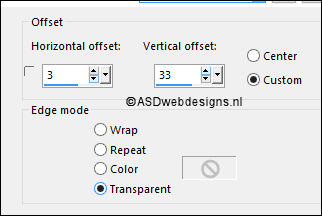
Effects - Image
Effects - Offset
Layers - Merge -
Merge Down
Adjust -
Sharpness -
Sharpen
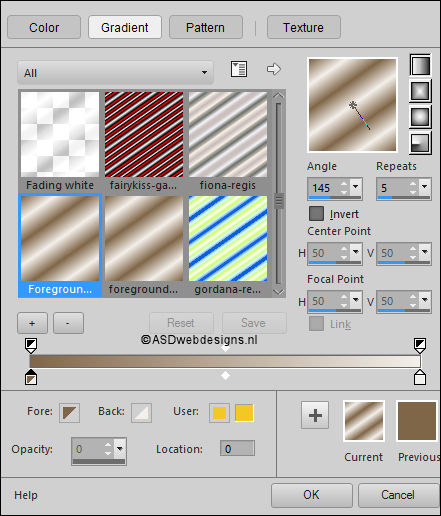
Color Palette:
Change the
Foreground
Gradient to
color and change
to #ffffff 
Layers - New
Raster Layer
Selections - Load/Save Selection -
Load Selection From Disk -
ASDwebs_TDstudio_Graziella_Sel#05
Fill the Selection
with the
Foregroundcolor
Selections -
Select None
Effects - 3D Effects - Drop
Shadow - Vertical 1 -
Horizontal 1 - Opacity 50
- Blur - 8 -
Color - #000000
Maximize Tube
"ASDwebs_TDstudio_Graziella_Deco03" from
tray
Edit - Copy
On your work image: Edit - Paste
As New Layer
Effects - Image
Effects - Offset
Layer Palette - Click on the Second Layer from
the Bottom (Promoted
Selection)
Maximize Tube
"Yoka-Lady-Blonde-020216" from
tray
Edit - Copy
On your work image: Edit - Paste
As New Layer
Move like this:
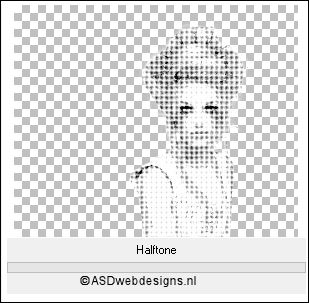
Effects - Plugins -
<I.C.NET Software> -
Filters Unlimited
2.0 - Special Effects 1 - Halftone
Selection Tool -
Rectangle
- Custom
Selection:
Selections -
Invert
Edit - Cut (Or hit the Delete Key of
your Keyboard)
Selections -
Select None
Adjust - Hue and Saturation -
Colorize - Hue 13 - Saturation
149 (If you are using different colors
play with the settings to match your
tube)
Layer Palette -
Double click on this Layer and set the Blend Mode to
"Hard Light"
and the Layer Opacity to
40
Layer Palette - Click on the Top
Layer
Edit - Paste As New
Layer (Tube is still
in your PSP Memory)
Image - Resize - 80% - Resize
all Layers not checked
Effects - 3D Effects - Drop
Shadow - Vertical 0 -
Horizontal 0 - Opacity 50
- Blur - 25 -
Color - #000000
Adjust -
Sharpness -
Sharpen
17
Layers - New Raster
Layer
Fill with the
Backgroundcolor
Layers - New Mask
Layer - From Image -
Narah_mask_Abstract92 - Source
luminance Checked -
Invert mask data NOT
checked
Layers - Merge - Merge Group
Image - Resize - 60% - Resize
all Layers not checked
Image - Free Rotate - Left checked -
90° -
Both boxes unchecked
Effects - Image
Effects - Offset
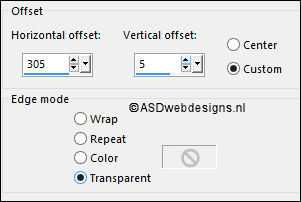
Image - Mirror -
Mirror
Horizontal (
Image - Mirror
in previous PSP
Versions)
Effects - Image
Effects - Offset
Layers - Merge
- Merge Down
Layer Palette -
Double click on this Layer and set the Blend Mode to
"'Dodge"
and the Layer Opacity to
80
Text Tool
 Font
Oasis
- Size 28 - Units:
Pixels -
Font Style: Bold -
Stroke
Width 2 - Create
as: Vector
Font
Oasis
- Size 28 - Units:
Pixels -
Font Style: Bold -
Stroke
Width 2 - Create
as: Vector
Close the
Backgroundcolor,
Foregroundcolor is
still #ffffff

Click somewhere in
your Image and Type:
graziella or a text
of your own, ( no
need for Capitals)
Objects - Allign -
Center in Canvas!
Layers - Convert to Raster Layer
Image - Free Rotate - Right
checked - 90° -
Both boxes unchecked
Effects - Image
Effects - Offset
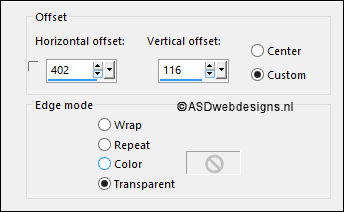
Image - Mirror -
Mirror
Horizontal (
Image - Mirror
in previous PSP
Versions)
Image -
Mirror -
Mirror Vertical (
Image - Flip in
previous PSP
Versions)
Layers - Merge -
Merge Down
Effects - 3D Effects - Drop
Shadow - Vertical 1 -
Horizontal 1 - Opacity 50
- Blur - 8 -
Color - #000000
Image - Add Borders - Symmetric
checked - 1 px -
#806648
Image - Add Borders - Symmetric
checked - 3 px -
#ffffff
Image - Add Borders - Symmetric
checked - 1 px -
#806648
Resize - Width
900 Pixels
- Resize all Layers checked