Effects - Plugins -
<I.C.NET Software> -
Filters Unlimited
2.0 -
VM Natural - Acid
Rain
Effects - Plugins -
It@lian Editors
Effect - Effetto
Fantasma
03
Layers -
Duplicate
Image - Resize - 75% - Resize all
Layers not checked
Image - Mirror -
Mirror Vertical (
Image - Flip in
previous PSP
Versions)
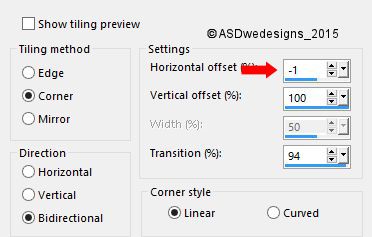
Effects - Image Effects - Seamless
Tiling - Default settings
Layer Palette:
Close the Bottom
Layer by
clicking on the
Little Eye
Click on the Top
Layer
Layers - Merge - Merge Visible
Adjust -
Sharpness -
Sharpen
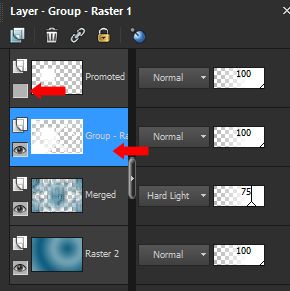
Layer Palette -
Double click on this Layer and set the Blend Mode to
"Hard Light" and the Layer Opacity to
65
Open the Bottom
Layer again
04
Color Palette:
Set the
Foreground
Gradient back to
color and change
to #ffffff

Layers - New
Raster Layer
Fill with the
Foregroundcolor
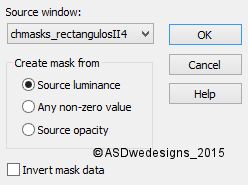
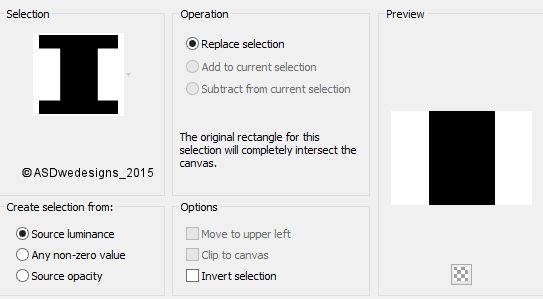
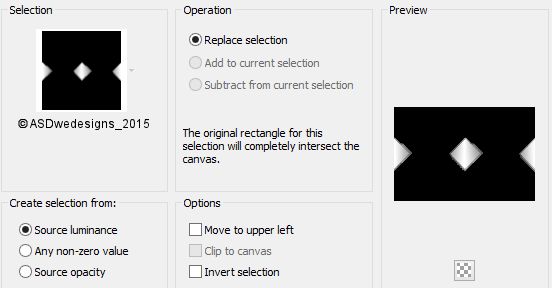
Layers - New Mask
Layer - From Image - chmasks_rectangulosII4
Layers - Merge - Merge Group
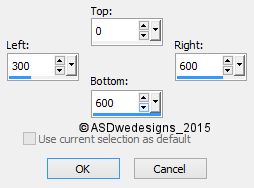
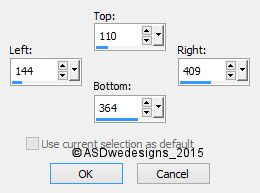
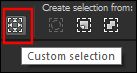
Selection Tool -
Rectangle
 - Custom
Selection:
- Custom
Selection:
Selections -
Promote Selection to Layer
Selections -
Select None
05
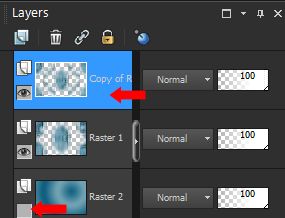
Layer Palette -
Close this Layer
by clicking on
the Little Eye
Click on the Second Layer
from the Top
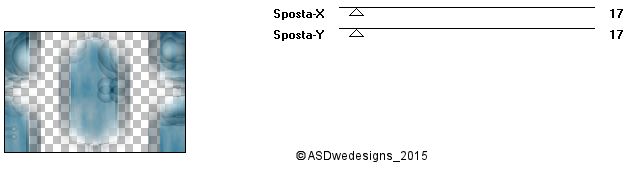
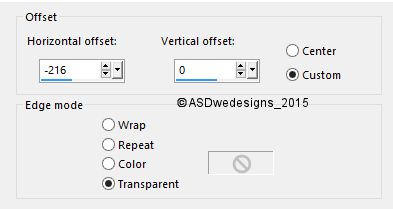
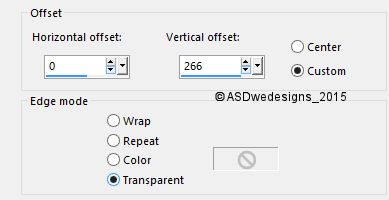
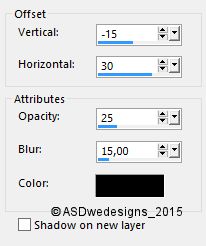
Effects - Image Effects - Offset
06
Layers -
Duplicate
Image - Mirror -
Mirror
Horizontal (
Image - Mirror
in previous PSP
Versions)
Layers - Merge -
Merge Down
Selections - Load/Save Selection -
Load Selection From Disk
- ASDwebs_Sel_463
Edit - Cut (Or hit the Delete Key of
your Keyboard)
Selections -
Select None
Image - Free Rotate - Left -
90°
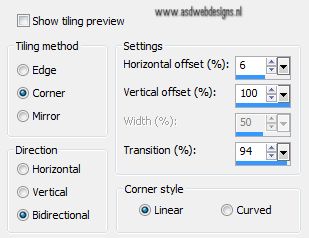
Effects - Image Effects - Seamless
Tiling - Preset Side by side
Image - Negative
Image
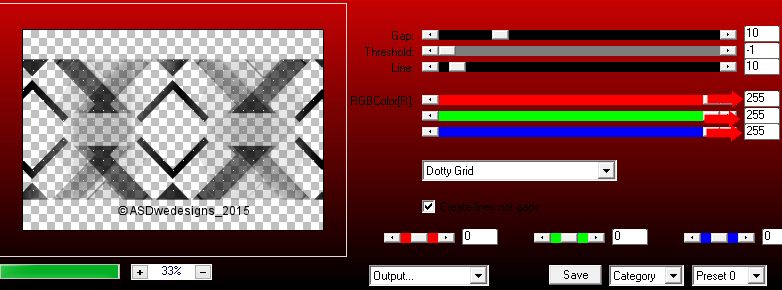
Effects - Plugins -
Plugin AP 01[Innovations] - Lines - SilverLining
Layer Palette -
Double click on this Layer and set the Blend Mode to
"Overlay" and the Layer Opacity to 75
07
Layer Palette:
Click on the Top
layer and open
it
Image - Free Rotate - Left checked - Free -
45°
Image - Resize - 75% - Resize
all Layers not checked
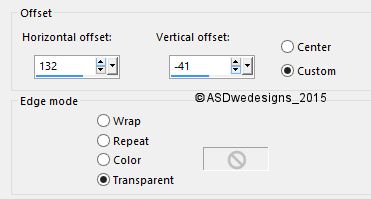
Effects - Image
Effects - Offset
Effects - Image Effects - Seamless
Tiling
Selections - Load/Save Selection -
Load Selection From Disk
- ASDwebs_Sel_464
Edit - Cut (Or hit the Delete Key of
your Keyboard)
Selections -
Select None
08
Layers - New Raster Layer
Selections - Load/Save Selection -
Load Selection From Disk
- ASDwebs_Sel_465
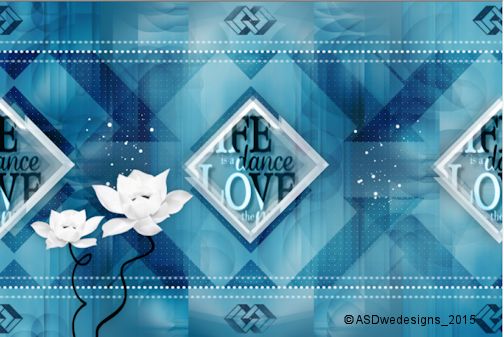
Open Tube "Yoka-TEXT-Life-dance"
Edit - Copy
On your work image: Edit - Paste
Into Selection
Selections -
Select None
Effects - Image Effects - Seamless
Tiling
Layer Palette -
Double click on this Layer and set the Blend Mode to
"Luminance (Legacy)"
09
Pen Tool
 - Mode:
Draw Lines and Poly
Lines - Create
as Vector
checked - Linestyle
Dot - Width
5
- Mode:
Draw Lines and Poly
Lines - Create
as Vector
checked - Linestyle
Dot - Width
5
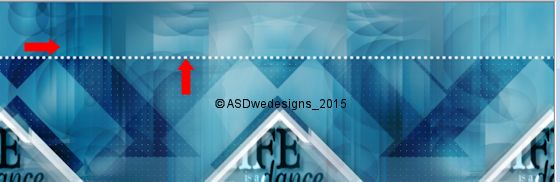
Draw with the
Foregroundolor
( While holding
down your Shift
Key) a straight
line like this:
Layers - Convert to Raster Layer
Layers -
Duplicate
Image -
Mirror - Mirror
Vertical (
Image - Flip in
previous PSP
Versions)
Layers - Merge -
Merge Down
10
Layers - Duplicate
Effects - Plugins -
It@lian Editors
Effect - Effetto
Fantasma
Layer Palette -
Double click on this Layer and set the Blend Mode to
"Screen"
11
Layers - New Raster Layer
Selections - Load/Save Selection -
Load Selection From Disk
- ASDwebs_Sel_466
Fill the
Selection with
the
Foregroundcolor
Selections -
Select None
Layer Palette -
Double click on this Layer and set the Blend Mode to
"Screen"
12
Open Tube "ASDwebs_Deco_#2109"
Edit - Copy
On your work image: Edit - Paste
As New Layer
Effects - Image
Effects - Offset
Effects - Image Effects - Seamless
Tiling
Layer Palette -
Double click on this Layer and set the Blend Mode to
"Multiply" and the Layer Opacity to 80
Layers -
Duplicate
Image -
Mirror - Mirror
Vertical (
Image - Flip in
previous PSP
Versions)
13
Open Tube "Alies 869-white
flowers-03052012"
Edit - Copy
On your work image: Edit - Paste
As New Layer
Image - Resize - 80% - Resize all
Layers not checked
Move to the Left
like this:
Effects - Plugins -
Alien Skin Eye Candy
5 - Impact -
Perspective Shadow
- Settings
Tab:
Preset
Dropshadow,
Blurry
14
Image - Add Borders - Symmetric
checked - 1 px -
#06567a